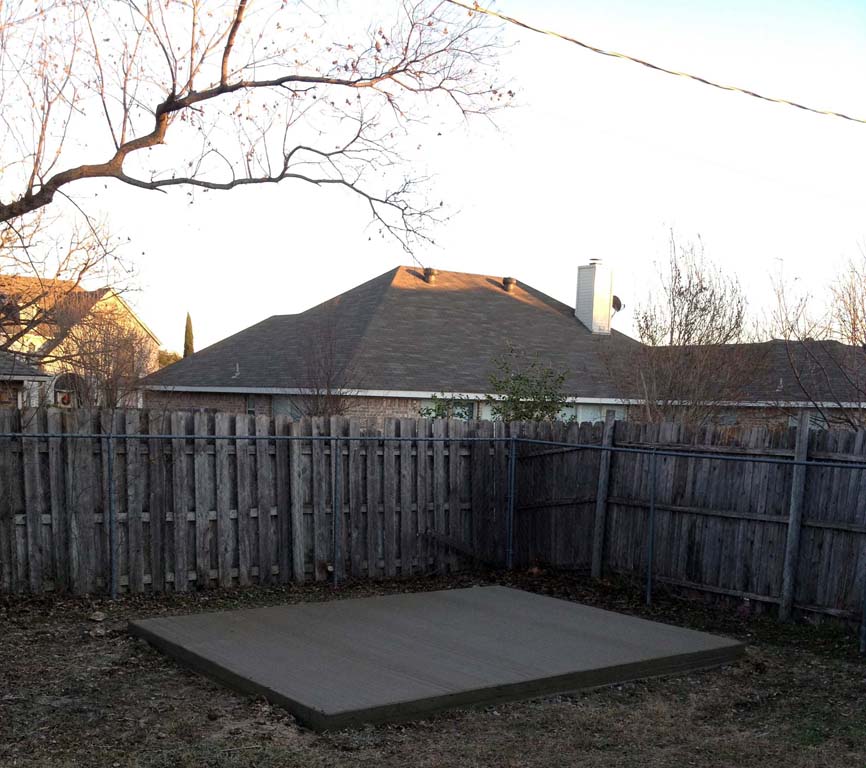
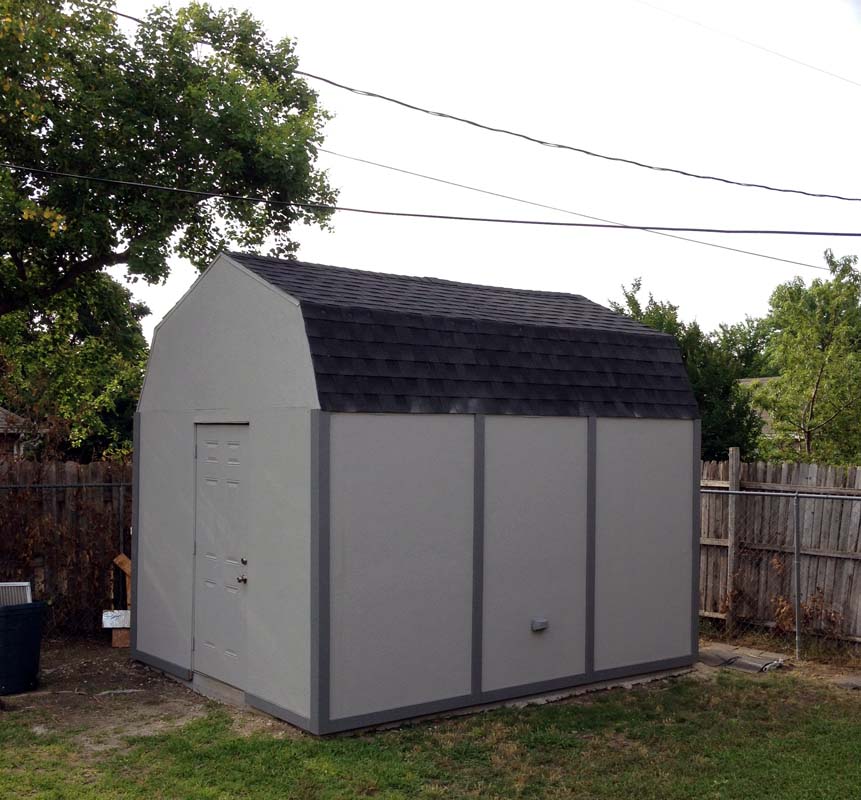
(Built to residential housing standards w/rebar, etc.)
Day 1
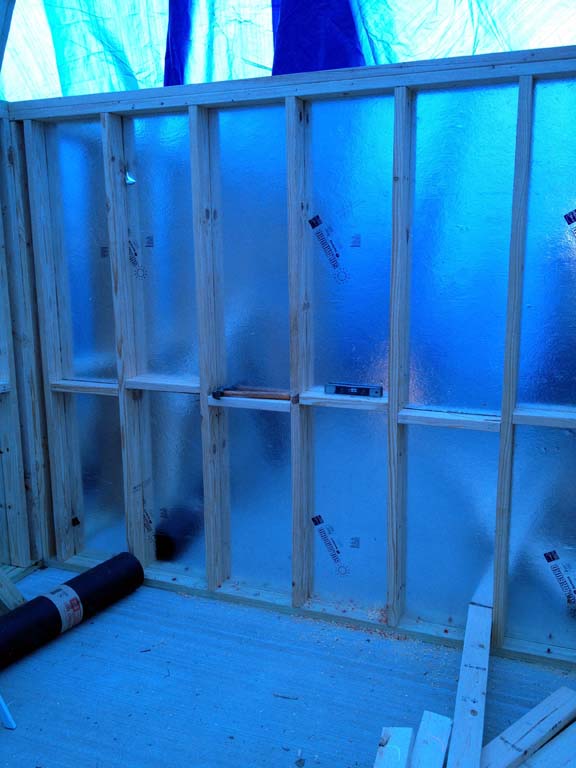
(16" centers on the studs & joists.)
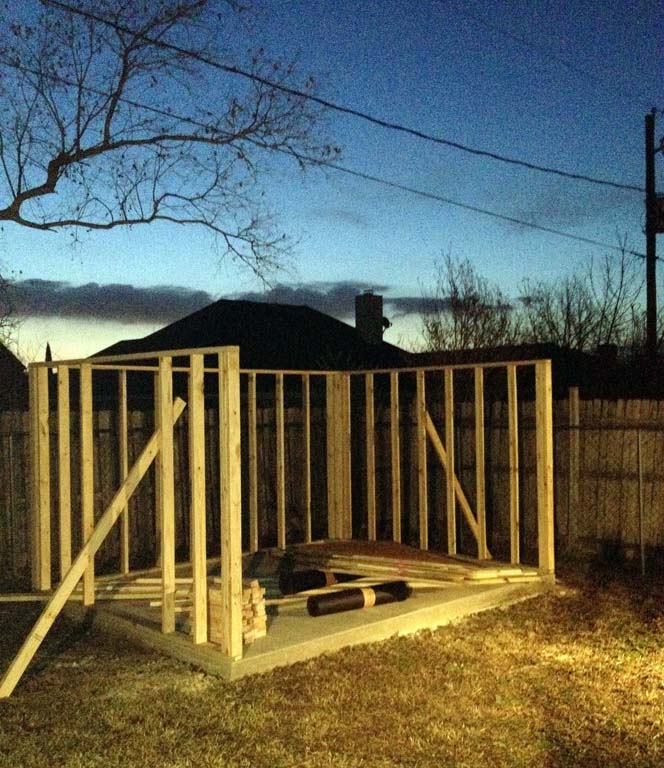
Day 2
(Wrap your stucture well.)
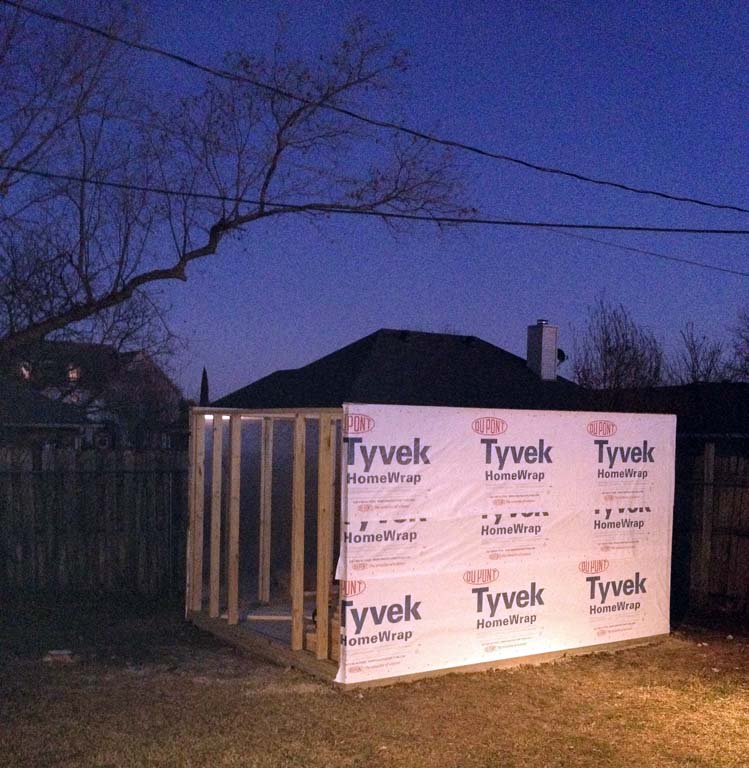
Day 3
(The barn-style joists go up.)
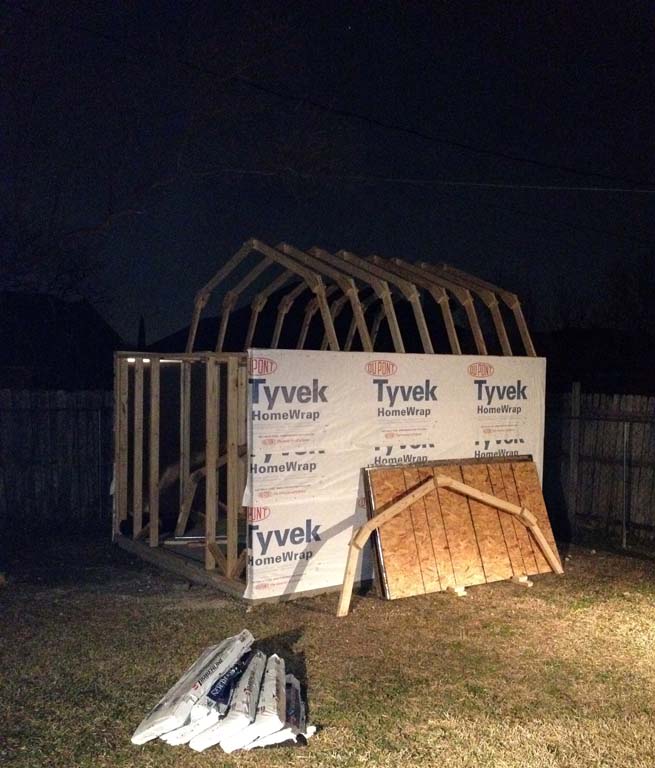
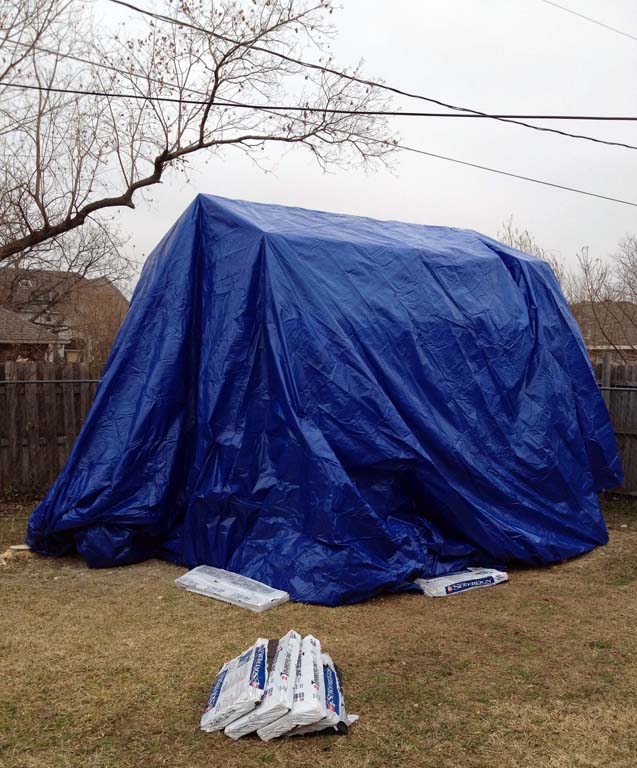
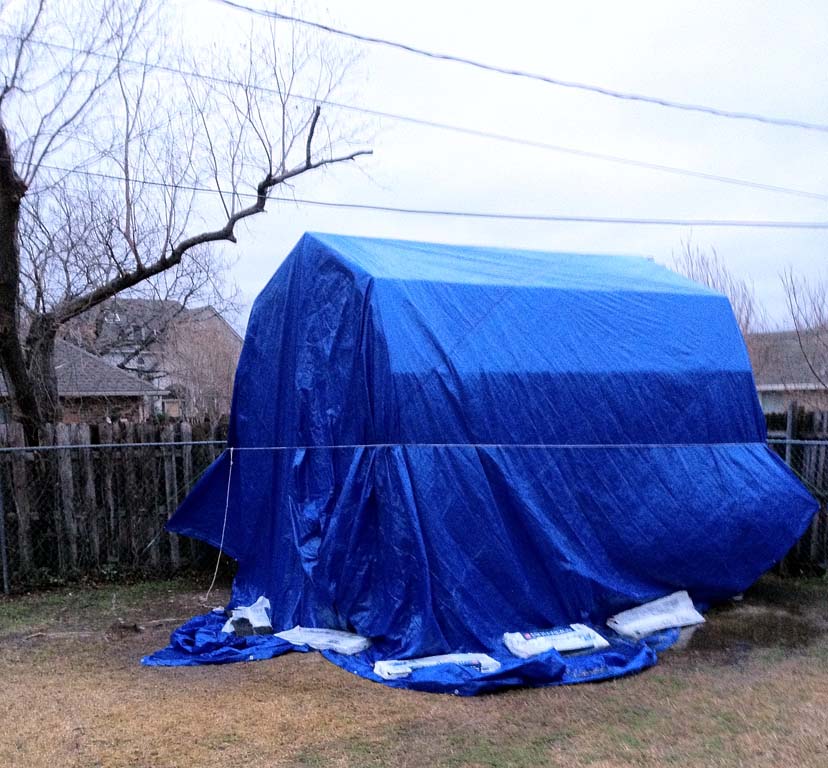
And the Rains Came.
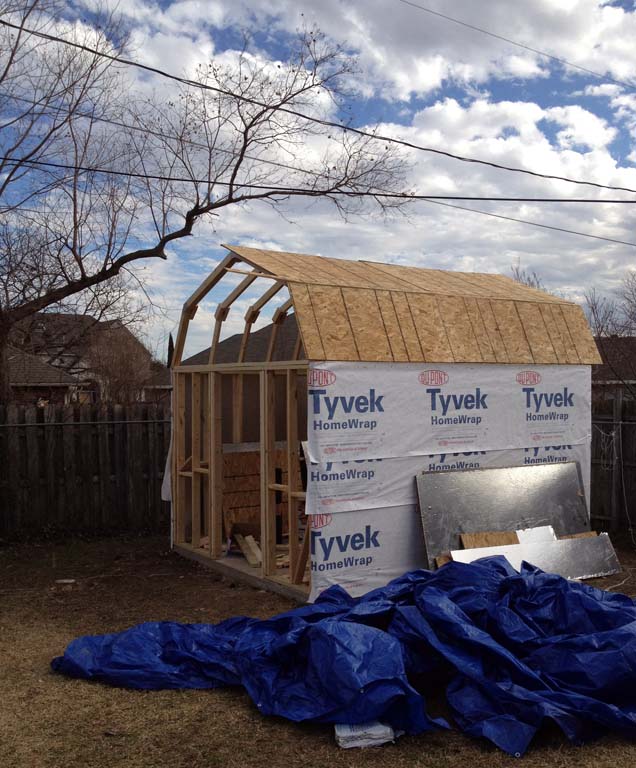
Day 4
(Framing the door. Decking the roof.)
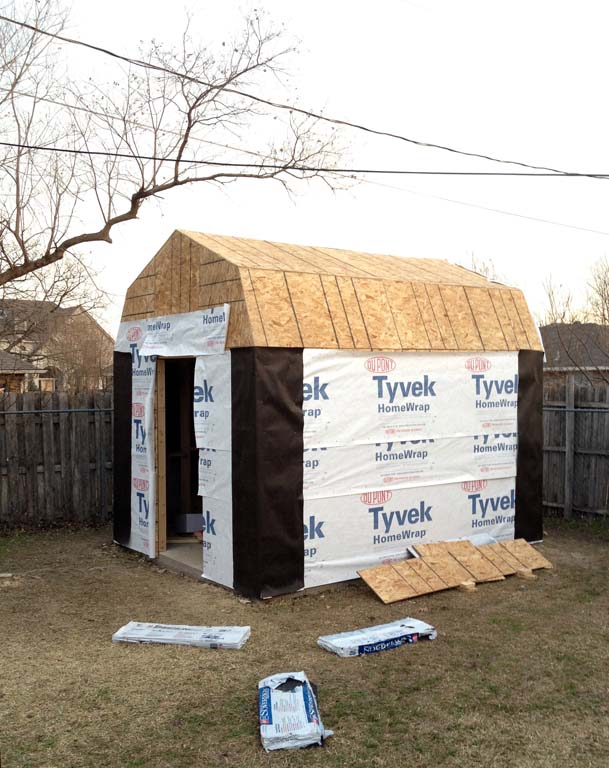
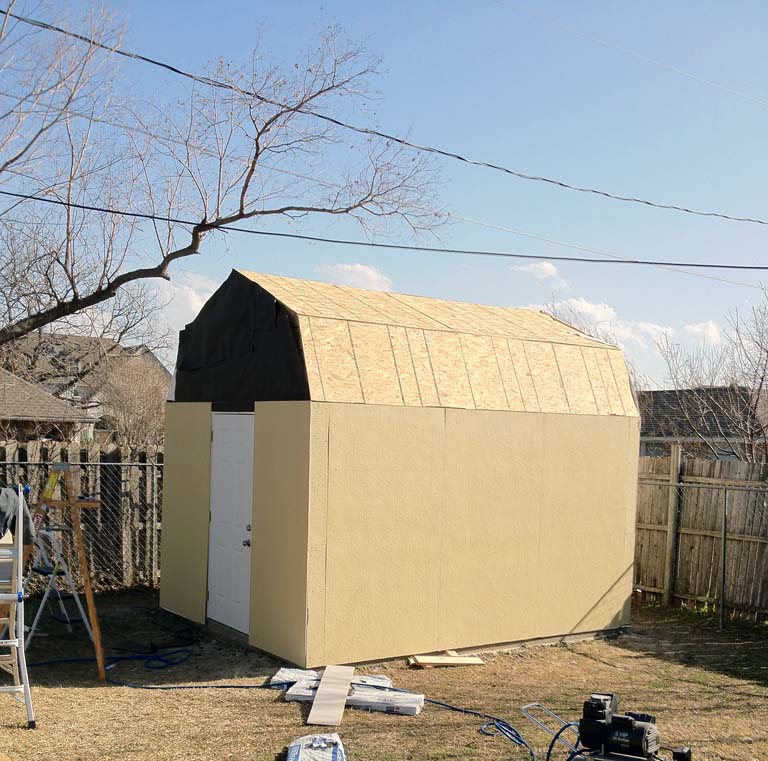
Day 5
(Finish the last wall & roof decking. Tyvek & tar paper on the corners.)
Day 6
(Hanging the door. Starting the siding.)

Day 7
(More siding up. Door hardware installed. More tar paper.)
And the Rains Came... Again... Harder.
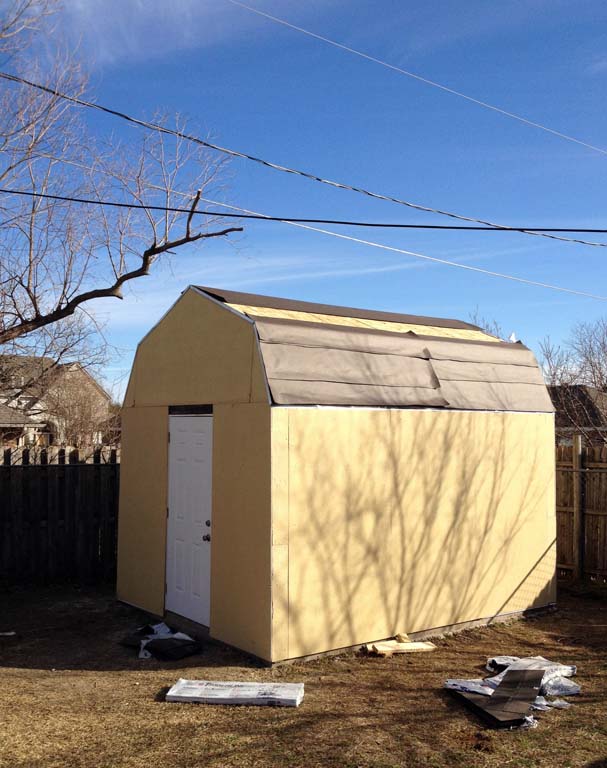
Day 8
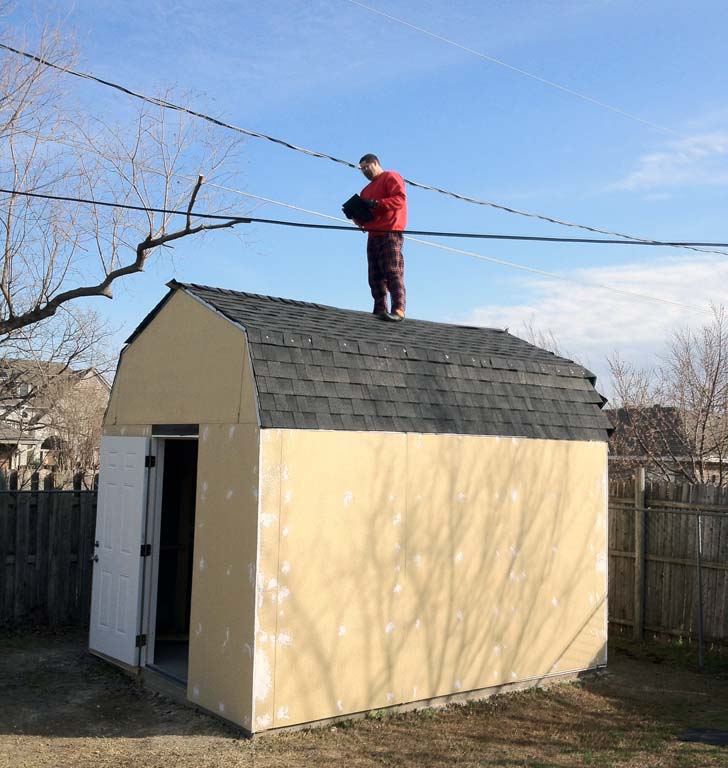
(Remaining siding. Roof flashing. Beginning to tar paper the roof decking.)
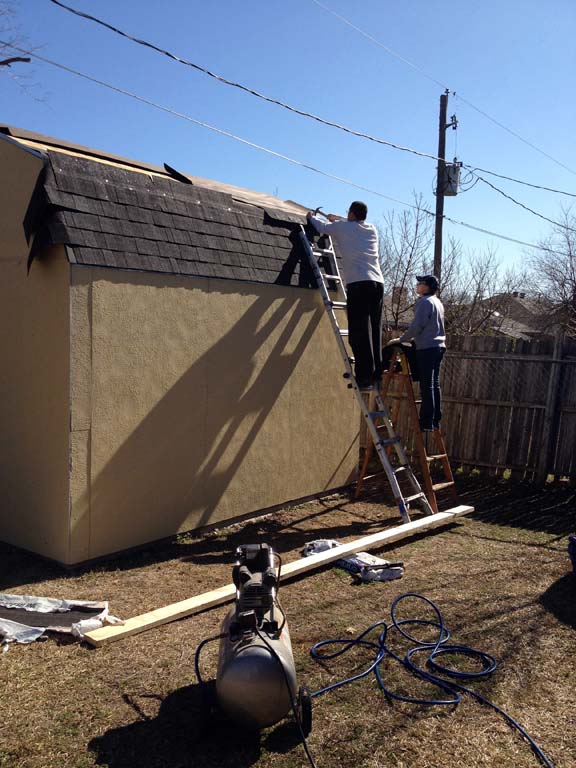
Day 9
(Shingling. Cleaning out the inside to prep for electrical rough in.)
Day 10
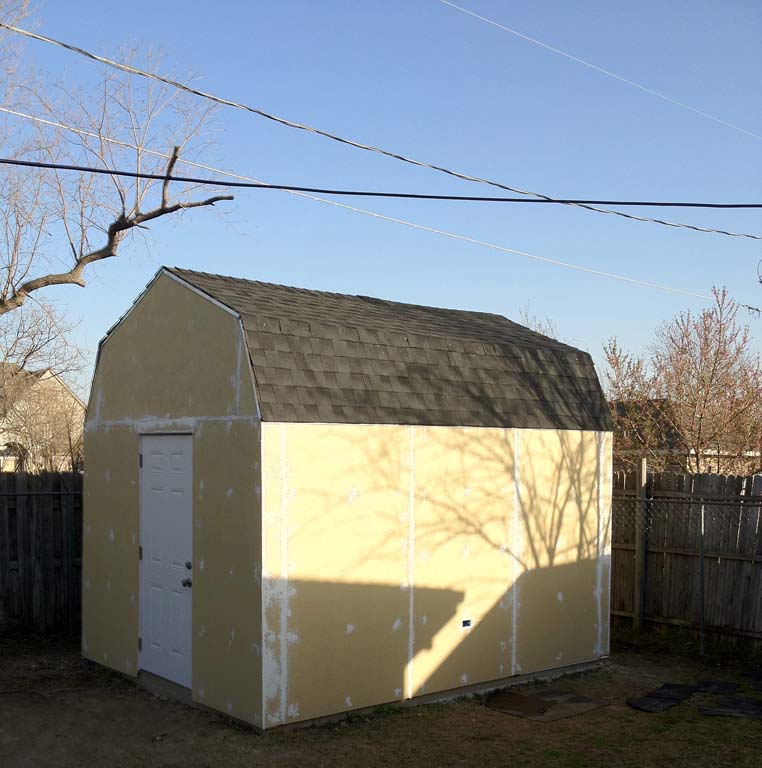
(Wrapping up shingling. Starting caulking.)
Day 11
(Remaining caulking done. Outside electrical box cut in.)
Day 12
(Exterior paint. Weather proof outlet.)
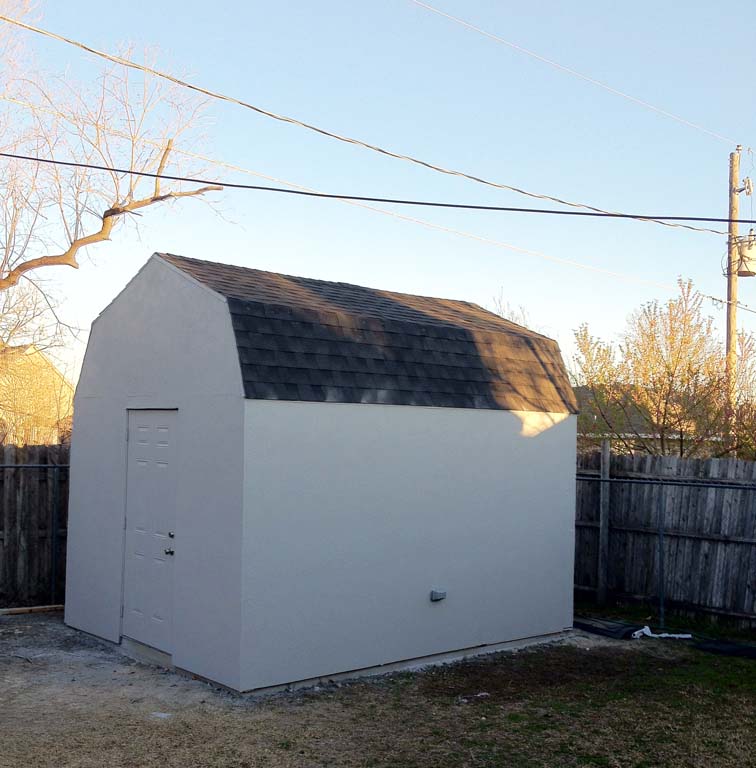
Day 13
(Starting the exterior trim.)
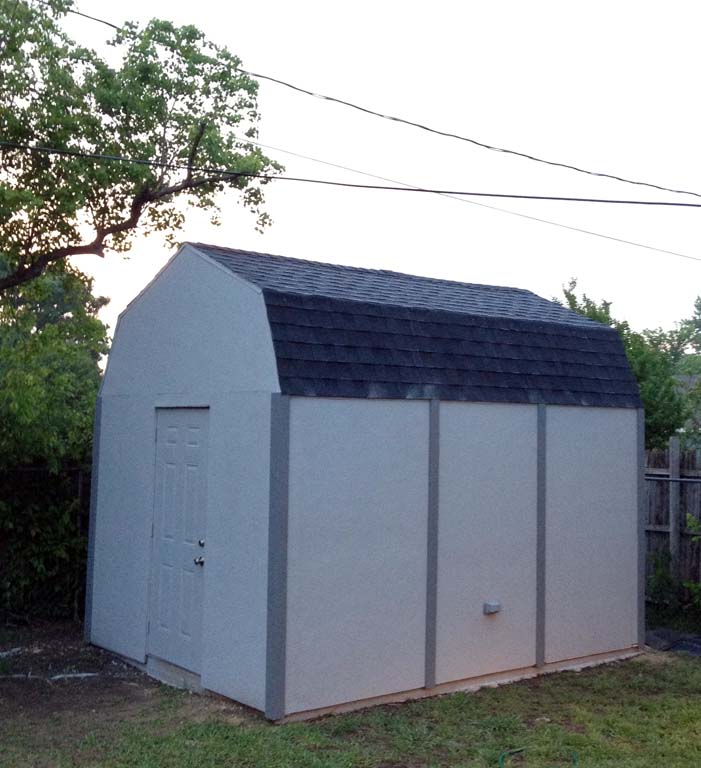
Day 14
(More exterior trim.)
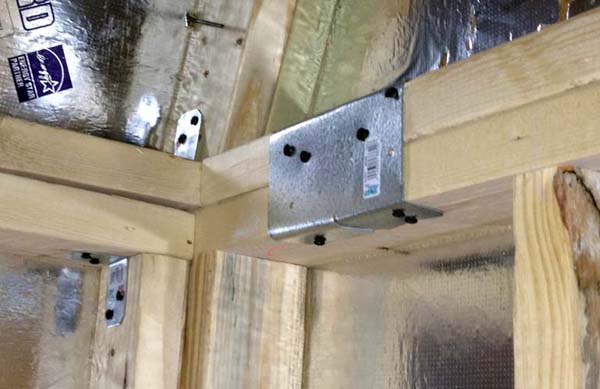
Stud Braces
(Notice the anchor bolts in every gap between the studs?)
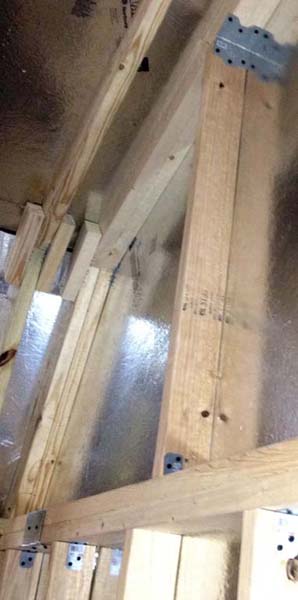
Hurricane Straps
(Tops & Bottoms of Studs)
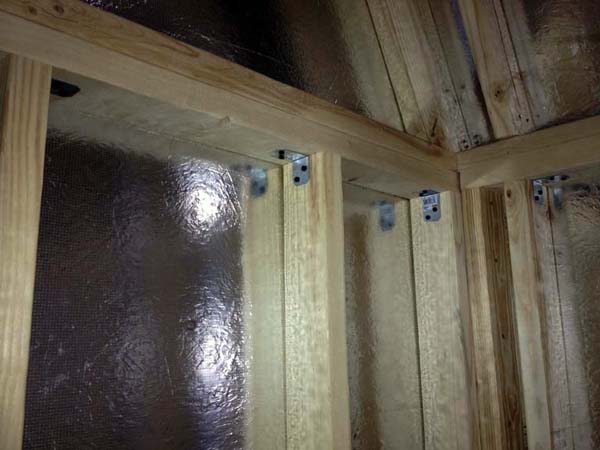
(C-Clamps On Header Corners)
(Roof Peaks)
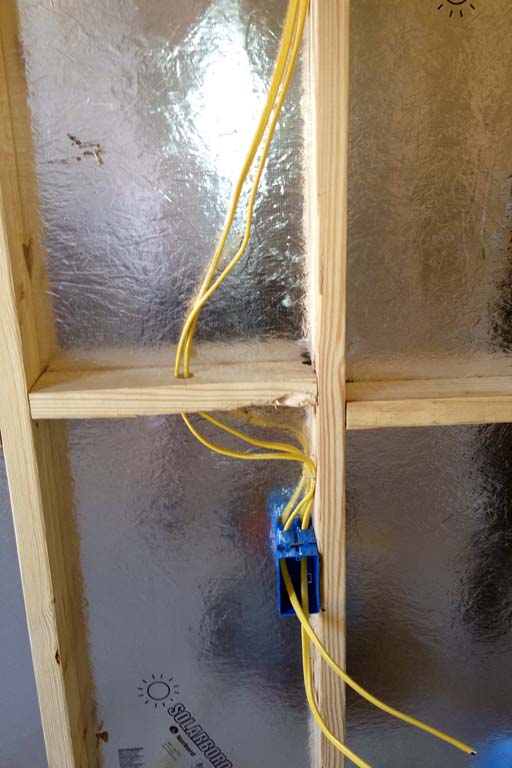
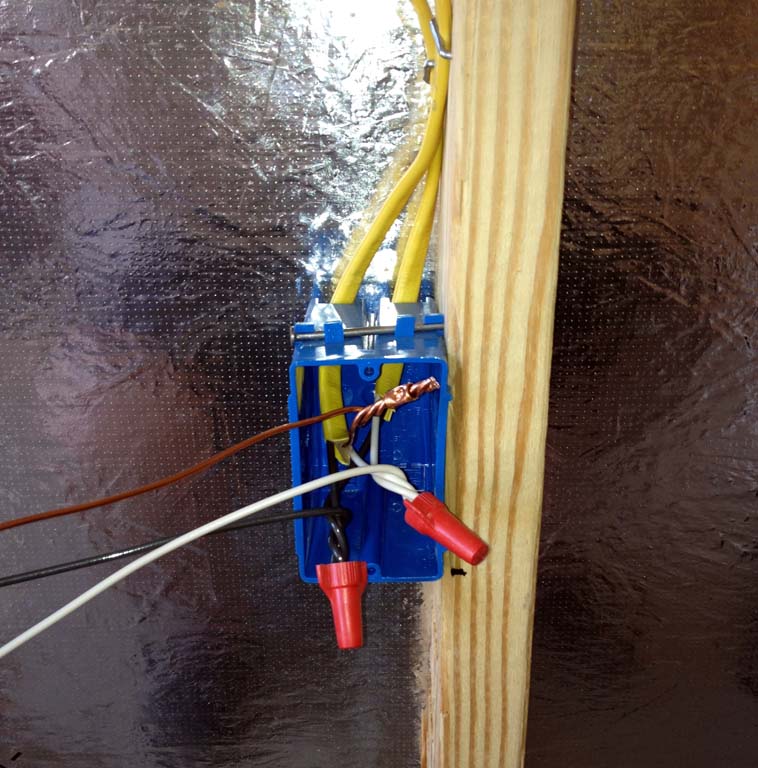
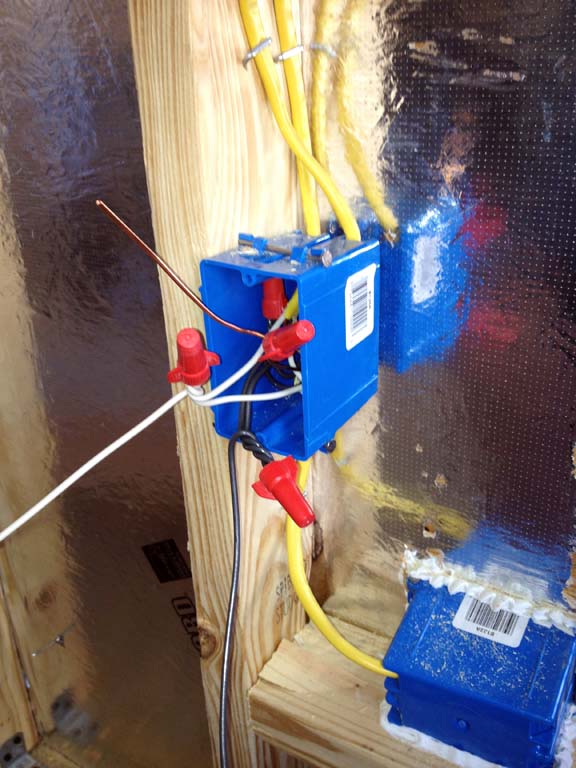
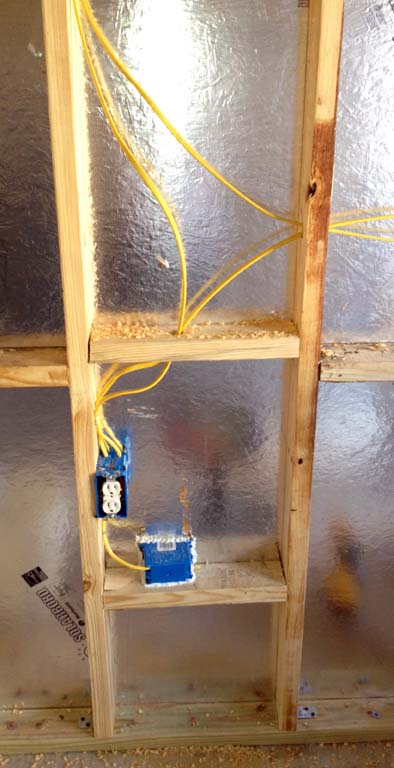
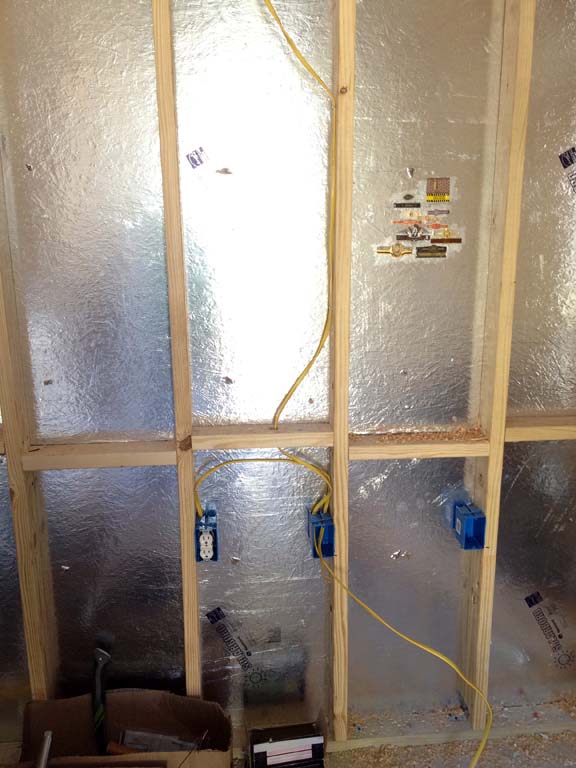
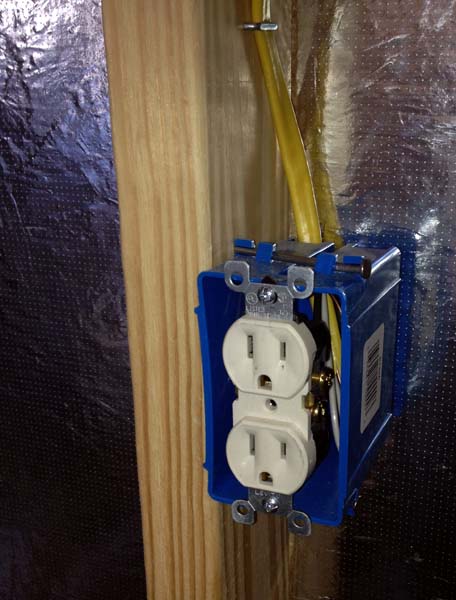
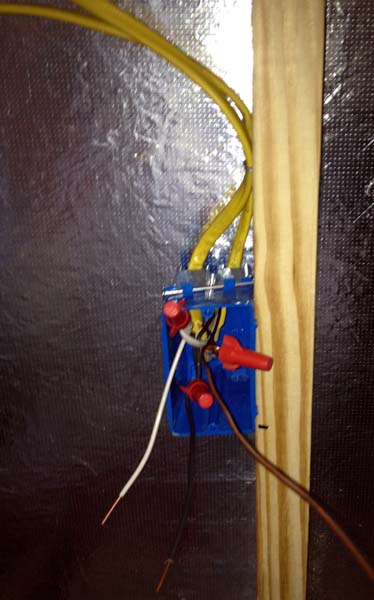
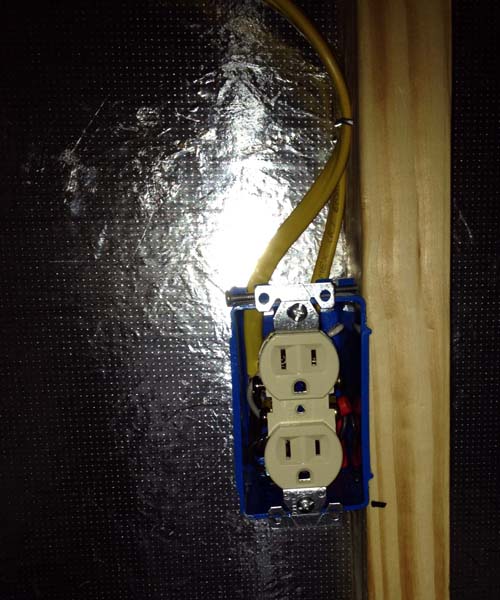
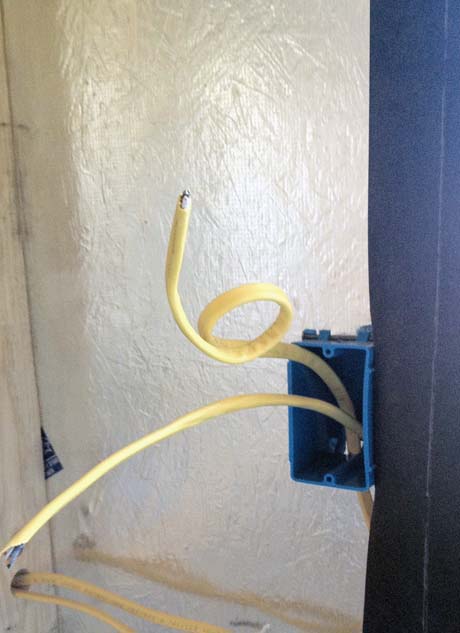
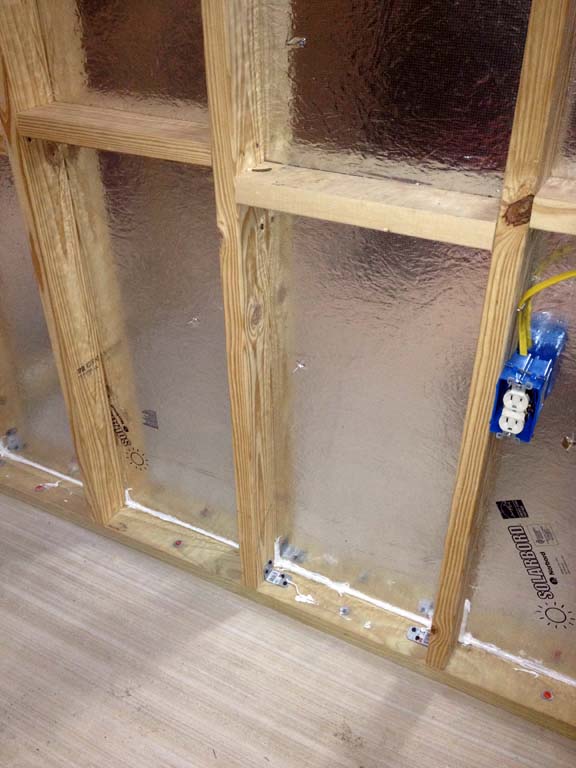
Electrical Rough In
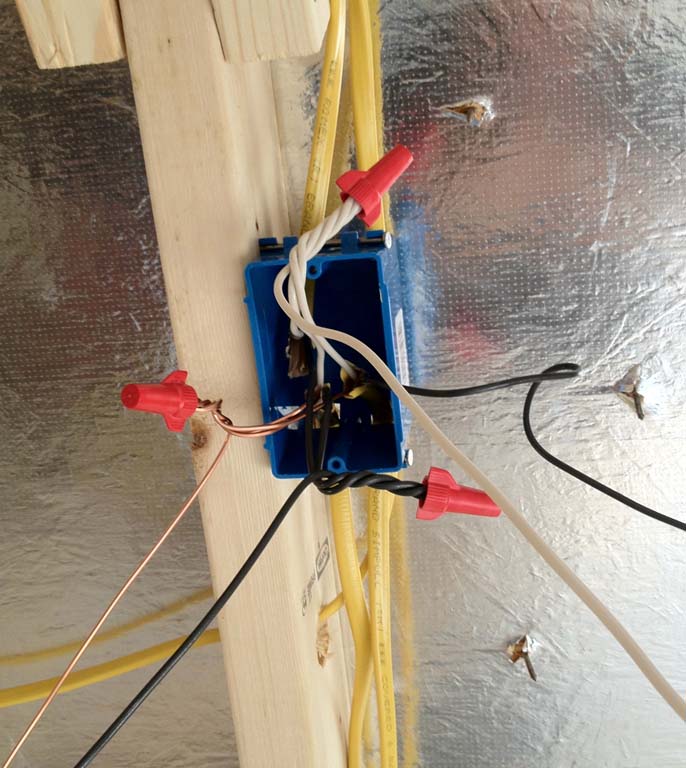
(Boxes)

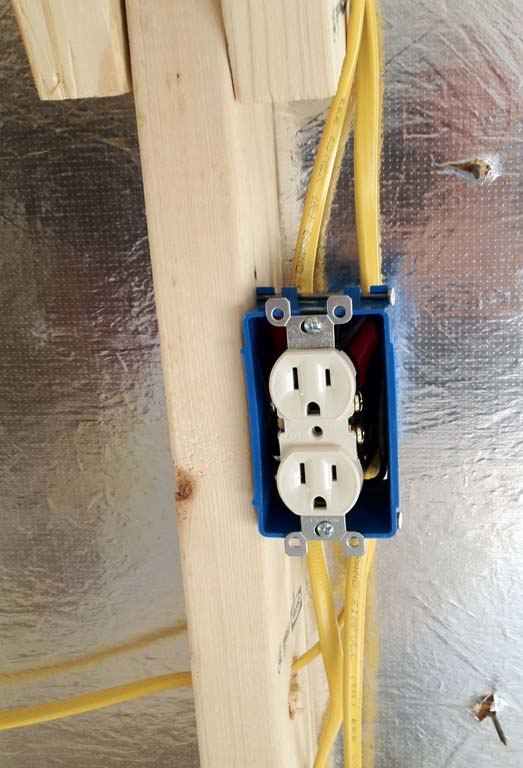
(East Wall Plug)
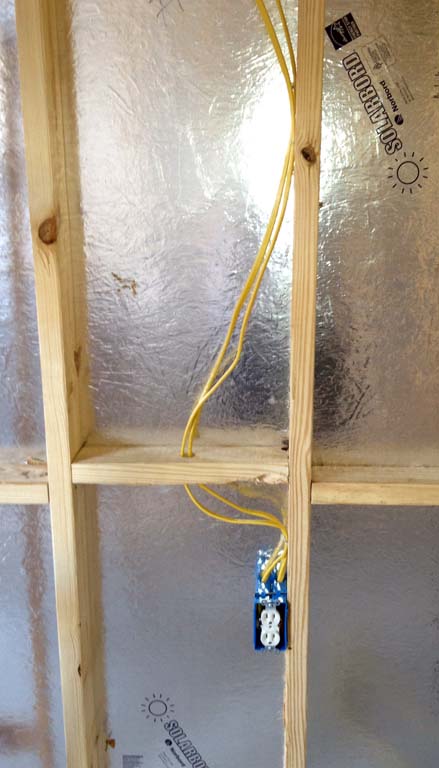
(West Wall Plug)
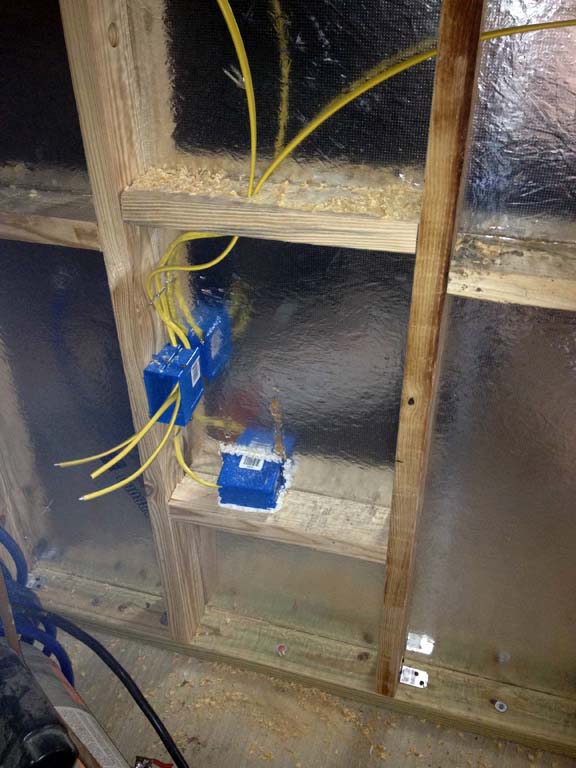
(South Wall Plugs.
Far right is for audio.)
(Left Plug)
(Right Plug)
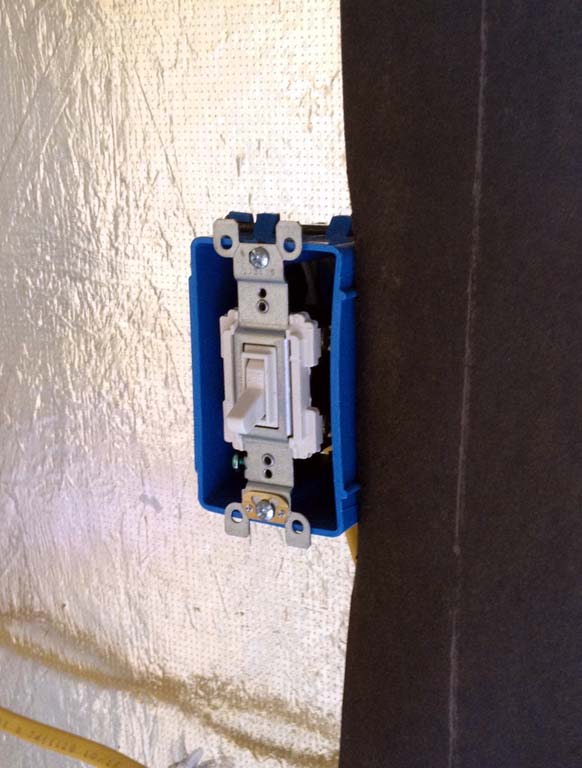
(North Wall Switch)

(Ceiling Switched Plug)
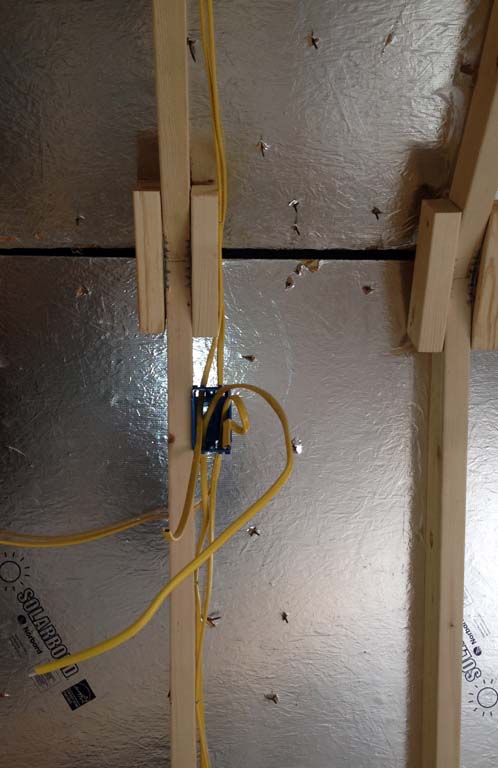
(Power Feeder)

Let There Be Light! (Video of Test)
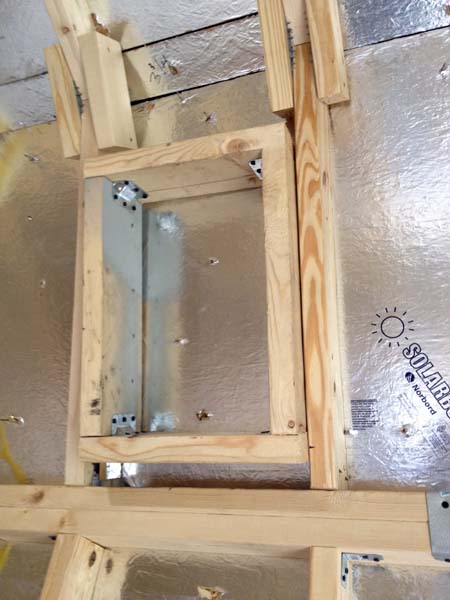
Audio
(2x6 frame for main speakers - 2 ea.)
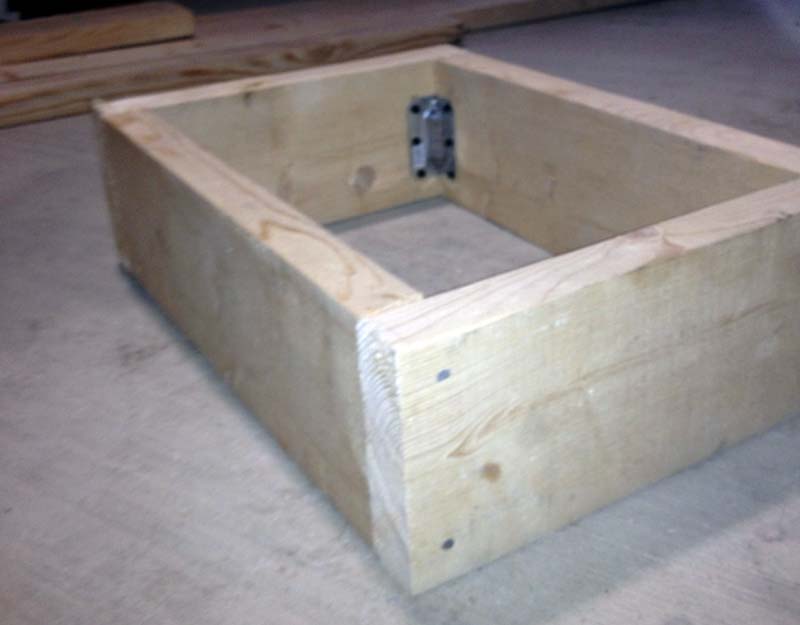
(Installed)
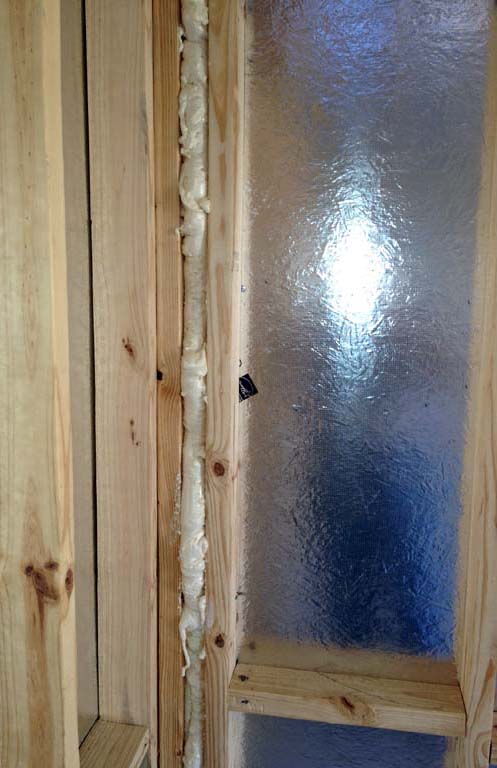
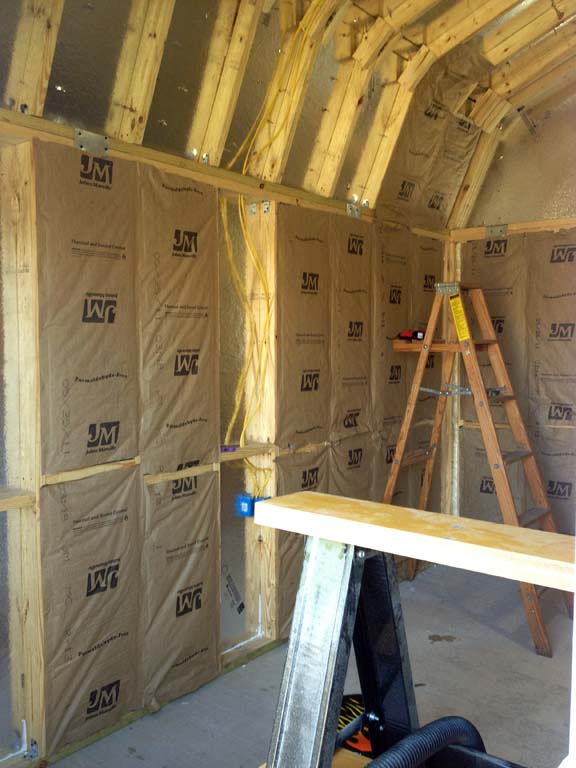
Insulation
(Spray foam in the gaps.)
(Caulking the baseboards.)
(The first roll of fiberglass goes up.)
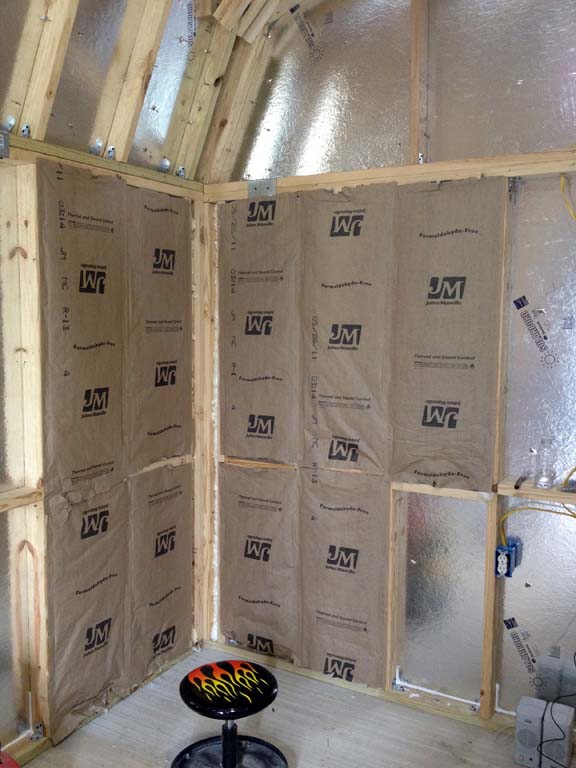
(Then more.)
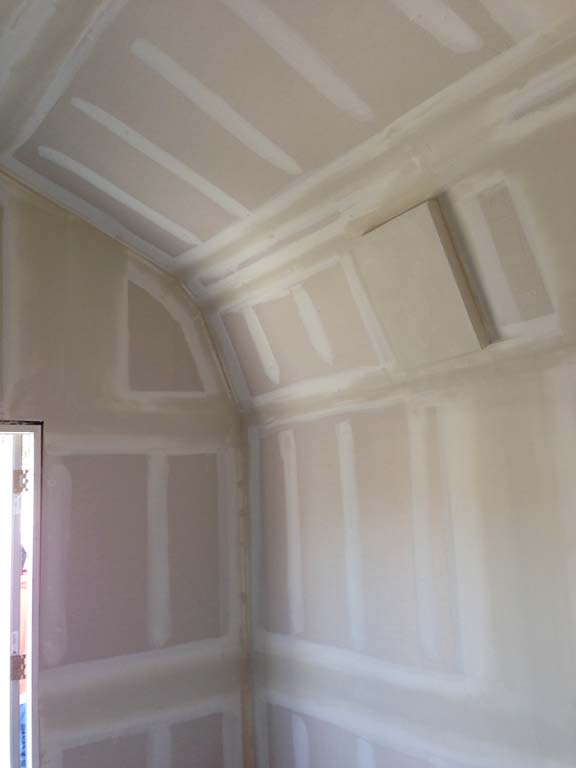
Drywall, Tape & Sand
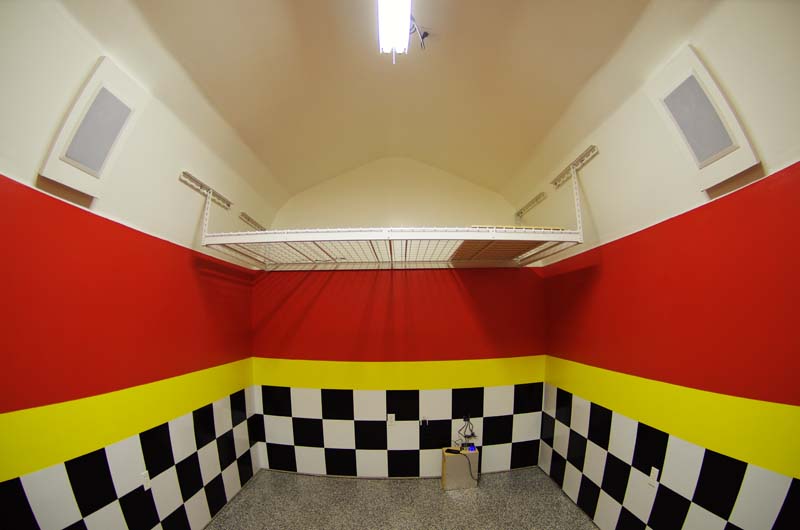
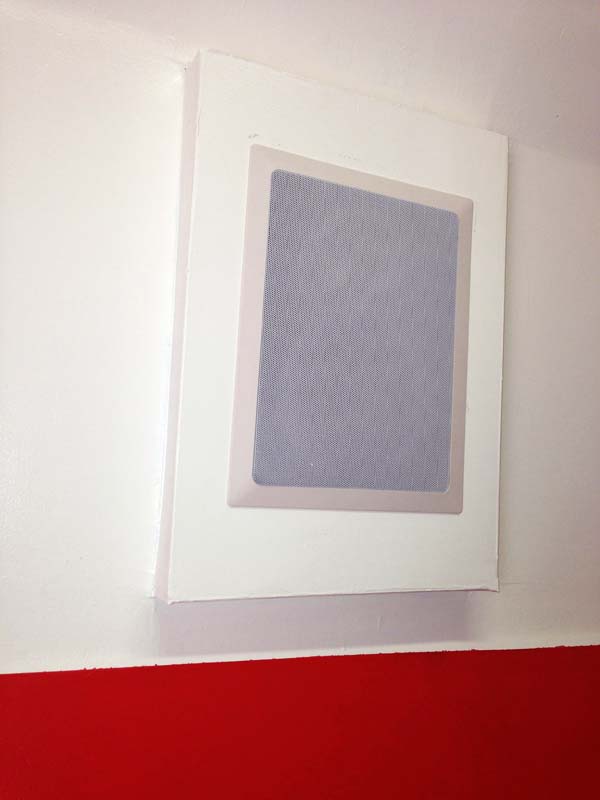
(The box on the ceiling is where the flush-mount speakers will be installed)
Paint
Primer coat started
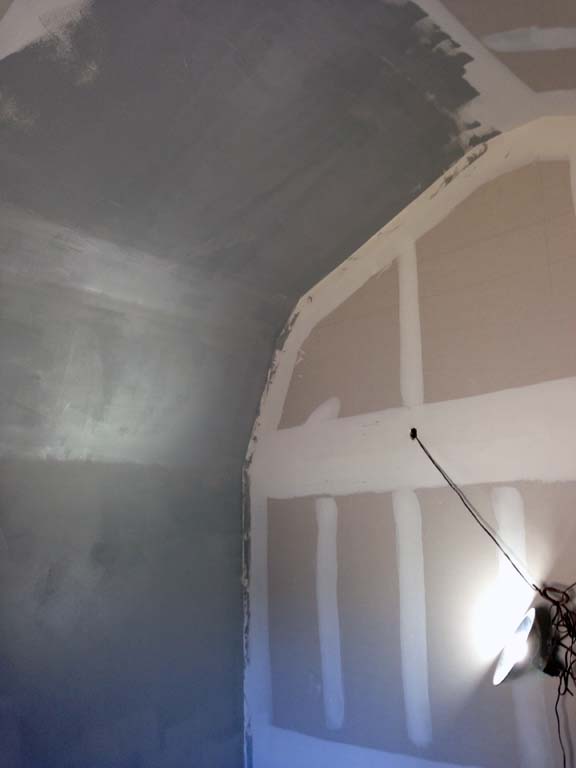
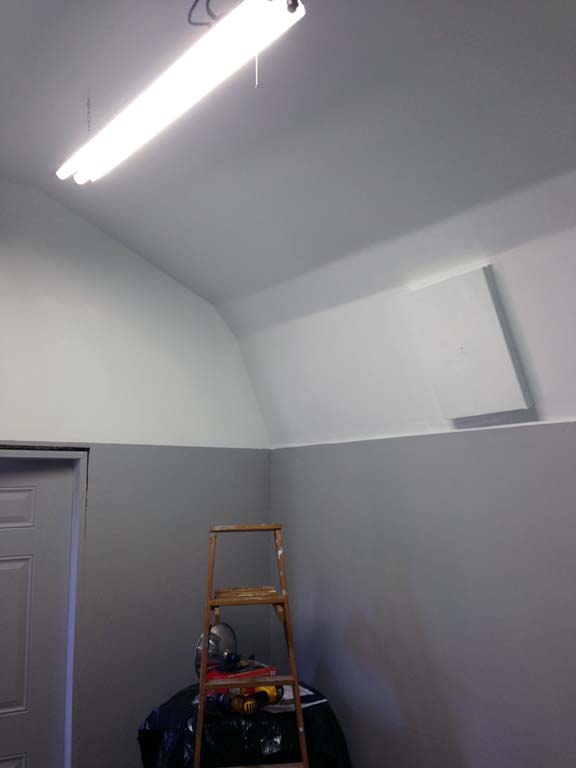
Primer & White Ceiling Done
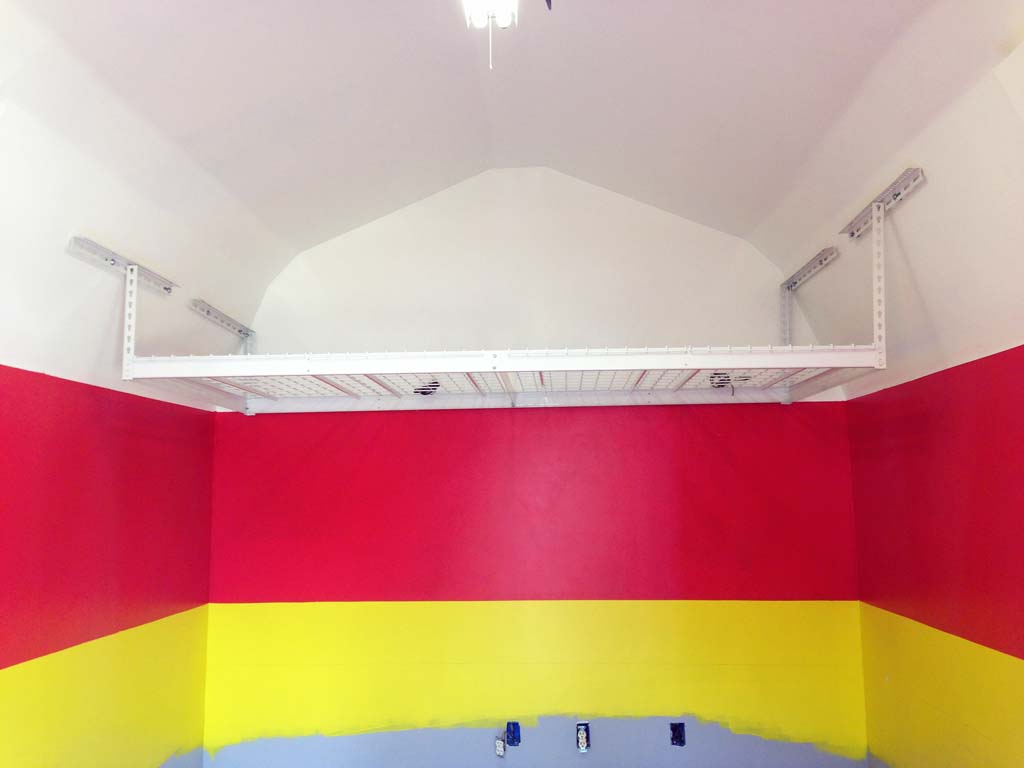
Light Fixture Installed
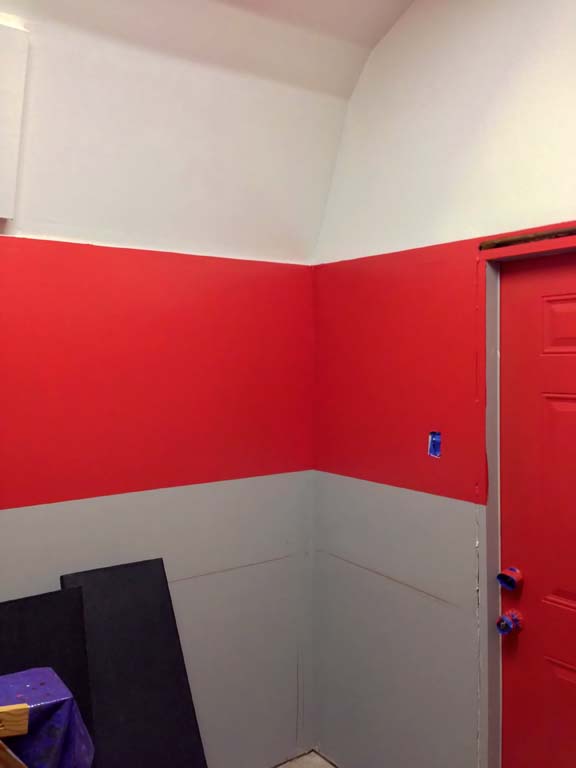
Ferrari Red Band Done
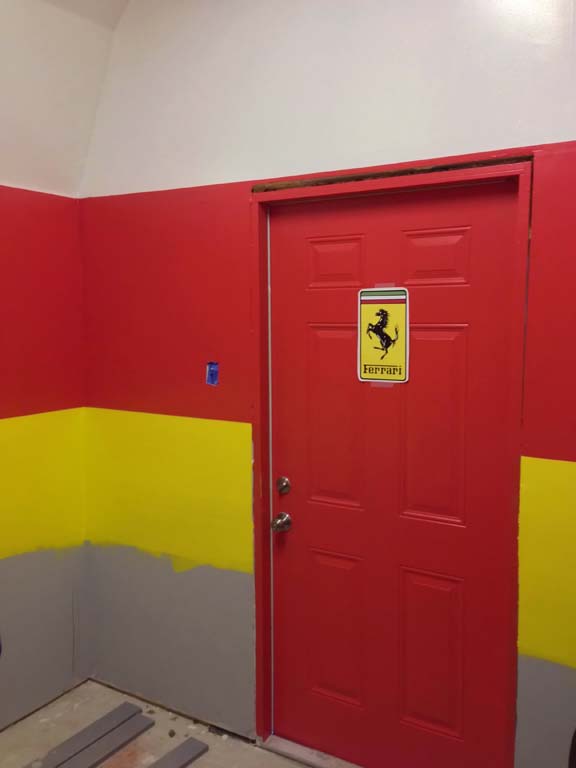
Ferrari Yellow Band Done
(Test Fitting Of Door Decal)
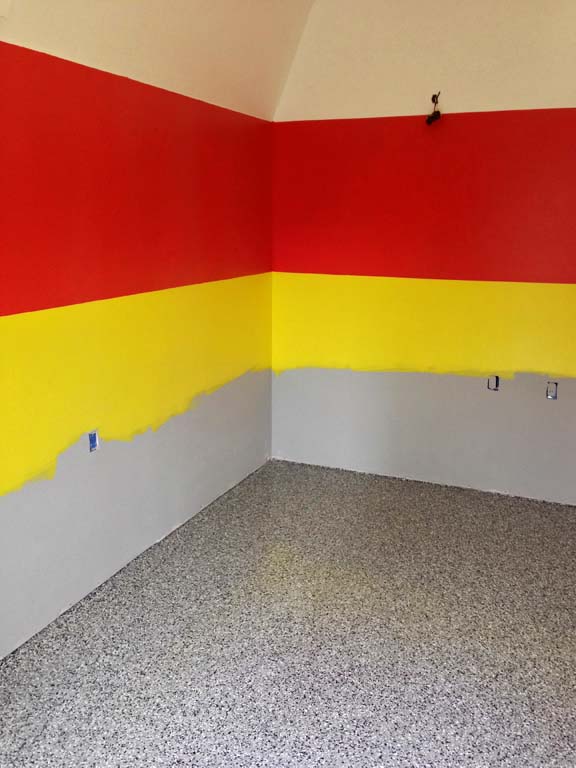
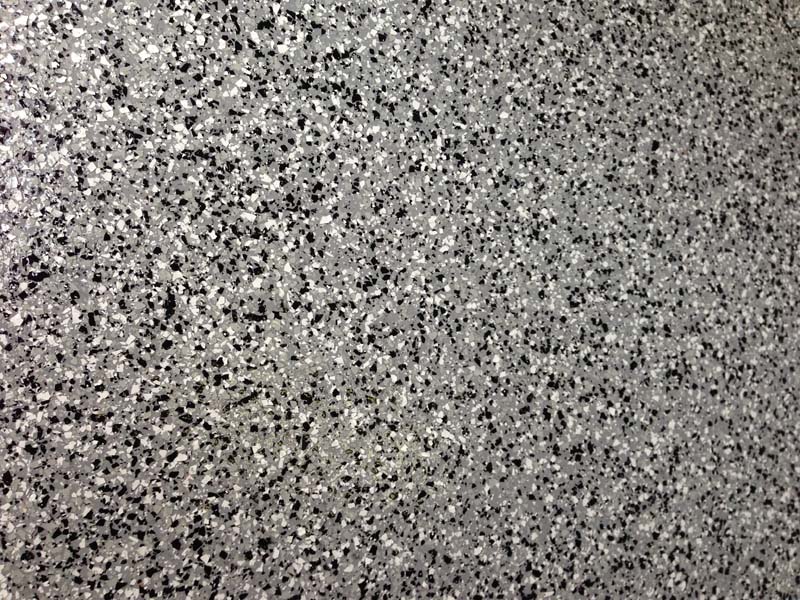
Floor Done
(Poly Treatment)
Loft
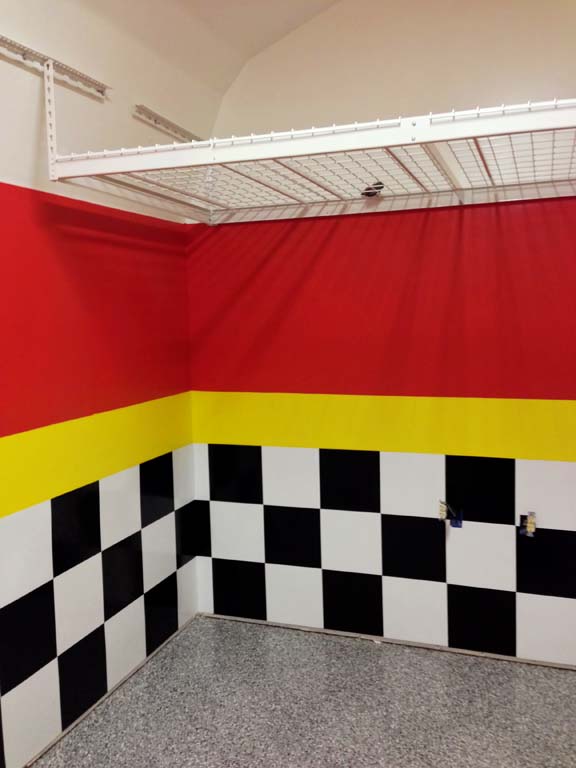
Wainscoting
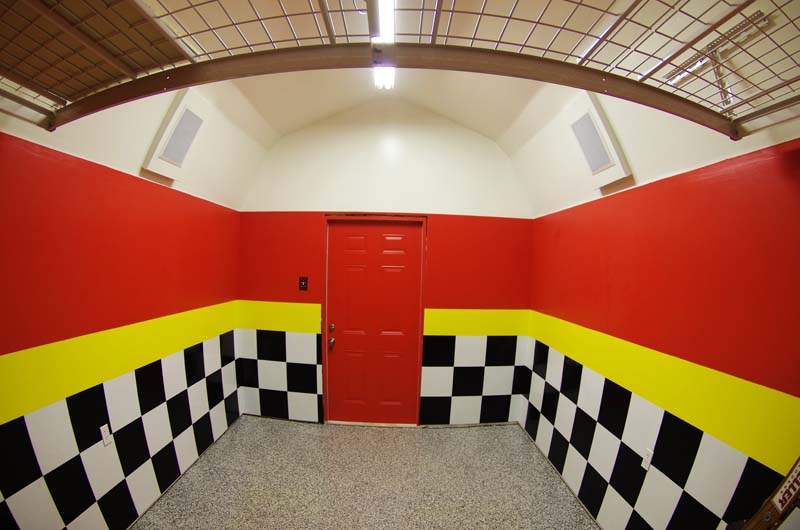
Fisheye shots to give an idea of the overall space.
Trim
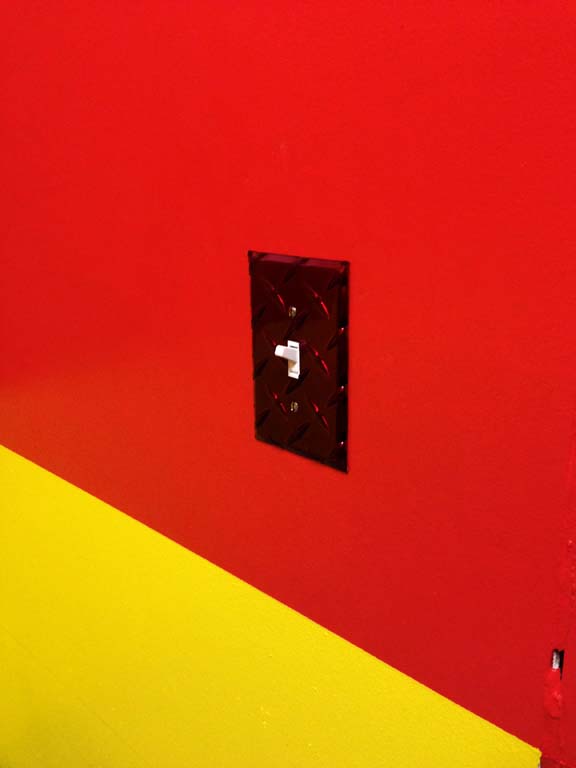
Switch Plate
Blank Plate
(Above the loft for the secondary speakers. Wiring now tucked away and abandoned after testing
the primary speakers and finding they fill the space without the need for an extra pair.)
![]()
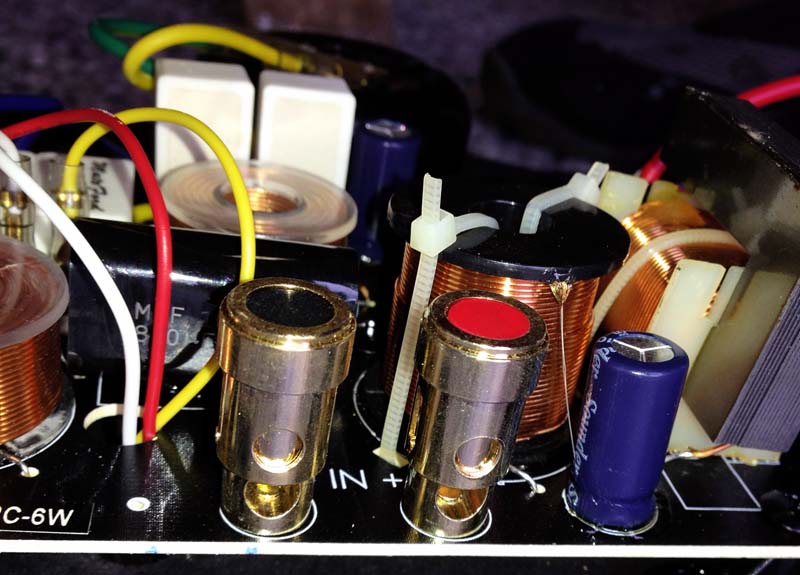
Energy RC-6W Speakers
Before Installation

The "Cut" position is for highly reflective rooms.

Wiring made easy thanks to the spring-loaded connectors.
Frame and speaker mounted.
(So THAT'S what those boxes in the ceiling were for!)
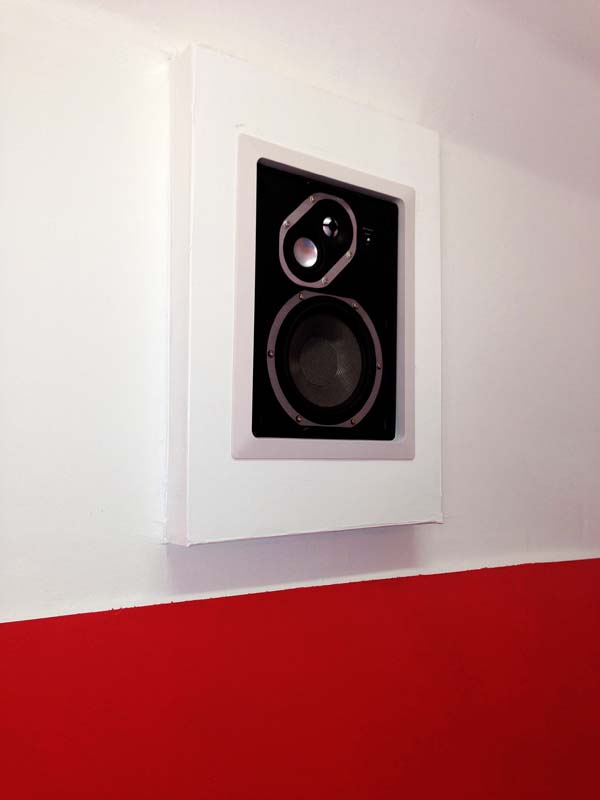
With the grill in place.
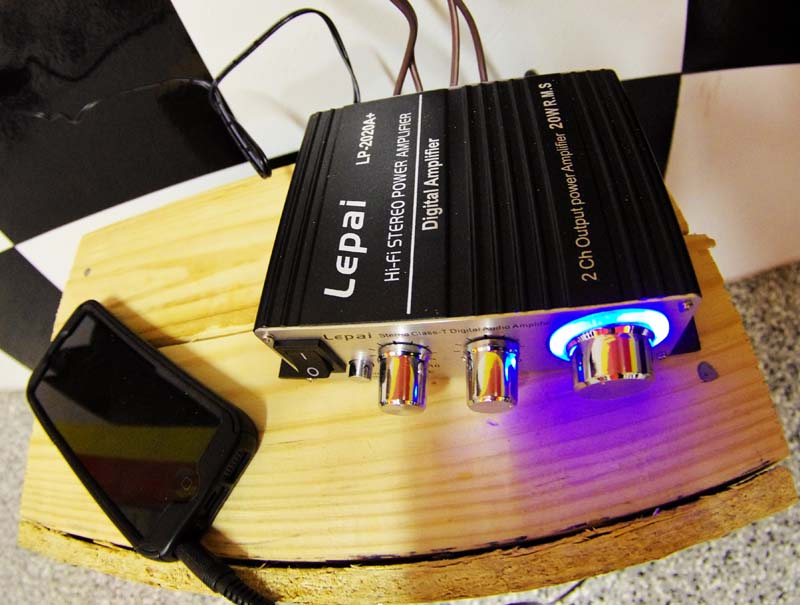
Lepai LP-2020A+ Power Amp
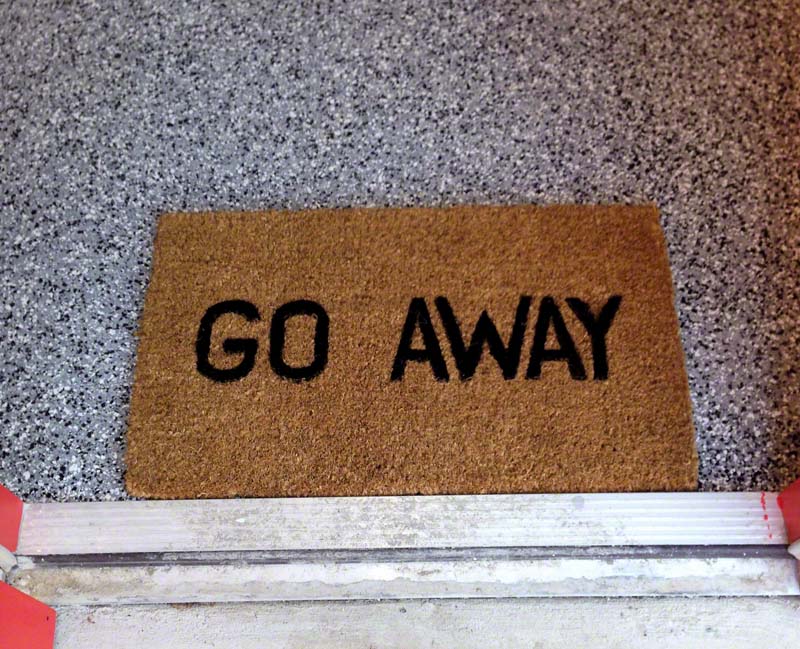
Entry Mat
(Because the first steps onto the poly floor may be slippery even with the texturing.)
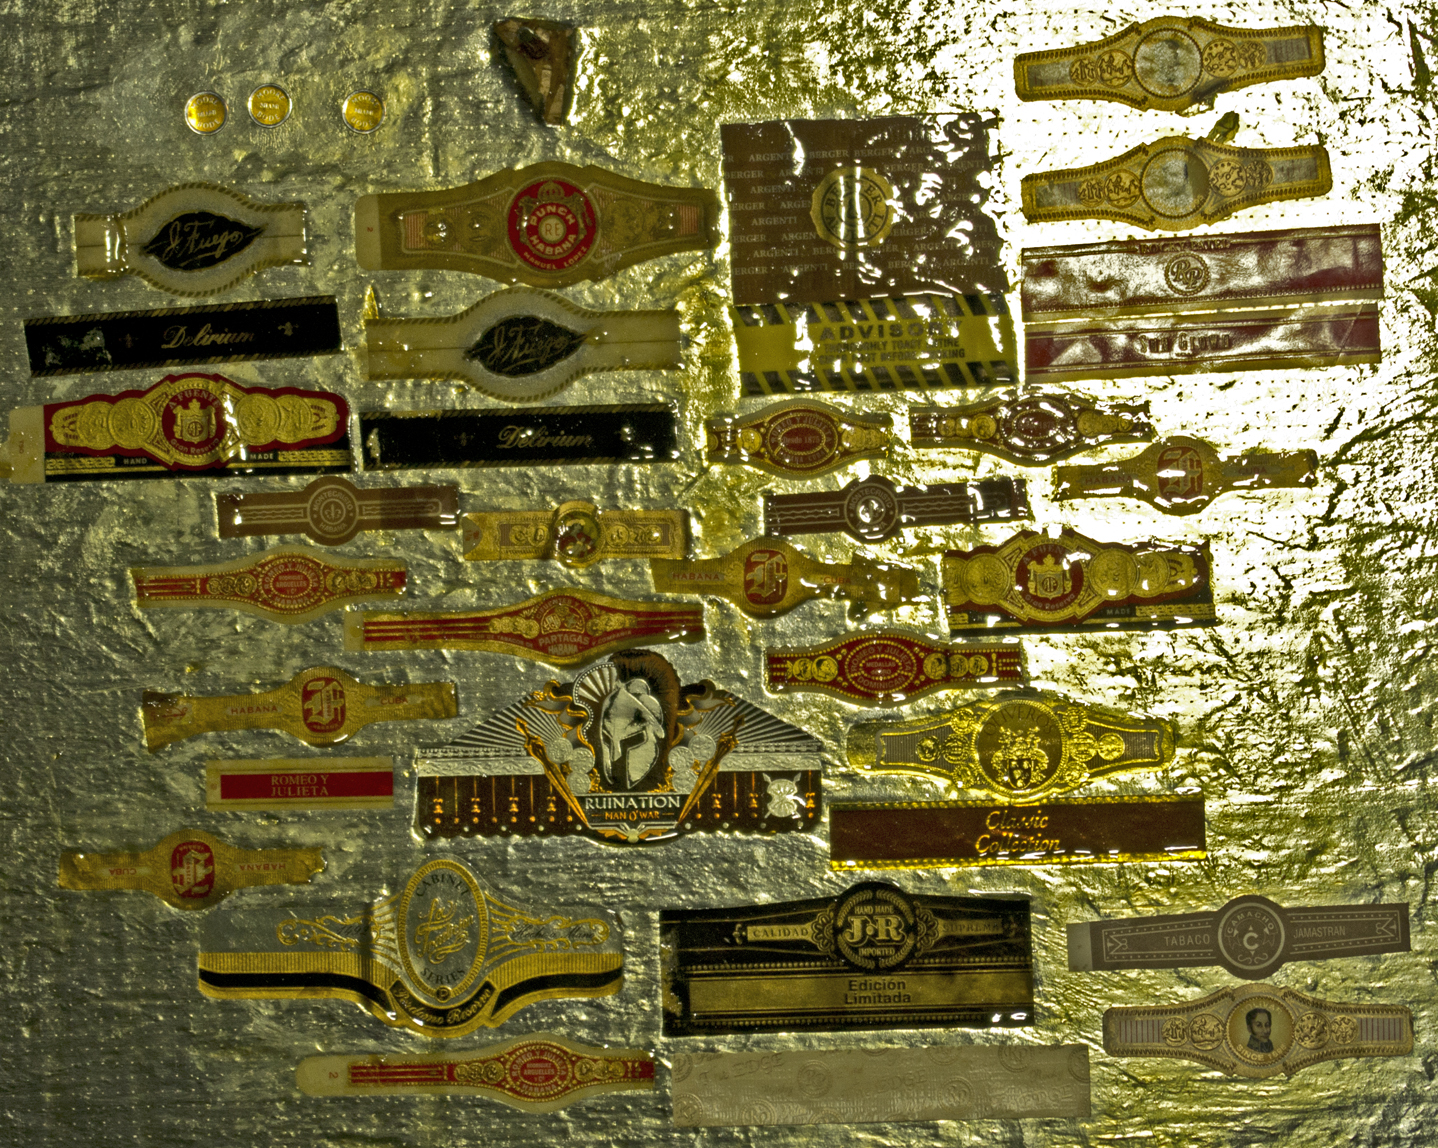
Legacy
(Bands of the cigars smoked during the project.
These are on the solar board, behind the insulation and sheet rock.
)